Showing posts with label baking. Show all posts

Thursday, January 15, 2015

Cupcakes Times Two

Happy belated New Year party people!

Let's get down to business.* Sometimes you just need a cupcake.


And if you're anything like me, sometimes you just have to bake. Most of the time, when I really want to unwind I have to do one of two things: A) Bake B) Take a nap.

Life is GREAT if I get to do both.


I don't know what it is, but baking is really relaxing for me. I'm not that great at it - and I'd love to get better - but I just love it. Just taking time to not have to think about anything in the world except for mixing, stirring, piping, etc., is very calming. I'm in my "zone" when I'm in the kitchen.


A day or two after Christmas, I was feeling a little homesick and sad that the holidays were basically over. Our apartment was clean (for once), and I wasn't quite ready to take down the Christmas tree, but I just had to DO something.

So I baked.

And you know what? It felt GOOD. It felt happy.

I'd recently stumbled on this recipe from Jessica at "How Sweet It Is" that made only two cupcakes, which was perfect considering we were still coming off of all of the holiday meals and snacks :)

But the trick was making the icing. I wanted to bust out the decorating kit and skills from my class back in August, but WITHOUT having to make icing that would cover an entire cake.

So, after a little digging, I used Jessica's vanilla buttercream icing with the measurements from Dessert for Two.

WIN.

I'll admit, I was pretty happy with how they turned out.


That is, until this happened.


But that's another story for another day :) At least it gave us a nice laugh.


Happy Thursday, friends! Let's rock on into Friday :)


Find the "Cupcake for Two" recipe HERE.


Vanilla Buttercream Icing for Two
recipe from How Sweet It Is, measurements from Dessert for Two


What you'll need:
4 tbsp butter (room temperature)
3/4 cup powdered sugar
1/4 tsp vanilla extract
1 tbsp of milk (or more, if you prefer a thinner texture)
sprinkles -> A MUST

What to do:
Cream butter with an electric mixture until smooth and creamy. Slowly add in powdered sugar and slowly continue to mix. Increase speed slightly and add vanilla, keeping everything in the center with a spatula (with such a small amount, it will spread very thin, very quickly). If the mixture gets a little too thick, add milk a little at a time until satisfied. Frost onto cupcakes once they are cooled.


*To DEFEAT...the Hunnnnzzzz!!!!


Tuesday, January 21, 2014

Sometimes...


Sometimes...you just have to laugh at yourself. Because that's all you can do.


At least it was delicious!

Monday, December 16, 2013

Oh By Gosh, By Golly!

Whoooo weee!!! It has BEEN awhile, folks!

Lots and LOTS of stuff going on on this end, as I'm sure is the case with most of you. Lots of traveling, laughing, people, and cooking, cooking, cooking!

But HEY LOOK AT OUR CHRISTMAS TREE!!!!!!!


It's awesome and I love it :) :) :) :)

Also, we got super cheesy AWESOME and put up one of those "Our First Christmas" ornaments too. I was slightly hesitant to get one at all but, when I found it, I couldn't pass this one up...


IT'S CAKE!!!!!!!!

Wonderful, glorious CAKE!!!!!!!!

We all know my fascination.

Last week at work we had a baking competition. My contribution? Cake balls :) Red velvet, at that, folks. MMMM. But oh, the fate that was to come....


Check out those beauties -- these wonderful balls of YUM before their disastrous end.

Everything was fine and dandy until it came to the "dipping" part. Apparently, this girl is NOT meant to make candy. They tasted fine, but they LOOKED hideous. I couldn't bring something so ugly (albeit, delicious) to compete in a competition, only to get overlooked by leery tasters. Le sigh.

But alas, all was not lost!

Thankfully I have a husband who has co-workers that will eat almost anything -- despite the looks of it -- so I boxed the ugly little treats up and sent them off, mainly to GET THEM OUT OF MY FRIDGE because OH MY GRACIOUS if they stayed I'd eat them all.

And we've had more than our fair share of sugary treats ever since.

For instance - The Cookie Swap.


Oh yes. It happened again.

I was SO THANKFUL when Natalie emailed me a few weeks back to tell me that her church was once again holding its annual cookie swap. When she invited me I hoped and HOPED that everything would fall into place and I would get to attend again this year - and boy, was I EXCITED that it did.

You might remember THIS POST from last year's event - an event I lovingly remember as the day that prompted my fascination with The Monkey Bread.

WHICH, by the way, I made for an early family Christmas celebration a few weeks back:


Ooohh....


Aaahhh....


But back to the Cookie Swap on Saturday!

Late Friday night, the Hubs and I arrived back in town around MIDNIGHT after his family's early Christmas celebration - but staying up an extra 20 minutes to make these babies for The Swap? Totally worth it:


Myyyy ohhhhh my, they were so good.

But then again, is anything NOT good when it involves Oreos? Aaaahhh...so easy, so delicious.

I MIGHT have had one with breakfast this morning. Along with a banana. So it totally makes it healthy.

Welcome to my world.

On Sunday, for the first time in WAY TOO LONG, we woke up before the sun and WENT FOR A RUN!

I'm telling you -- what a way to start a Sunday.

The weather was crazy cold and slightly windy, but to be outside (versus a treadmill) and in the open surrounded by beautiful scenery was invigorating. It felt amazing to be able to just RUN the road ahead and go up and down hills and across bridges and through the trees!

Yes - I said hills. I NEVER thought I'd be so happy to see hills. I guess a few months on the treadmill has had more of an effect than I thought.

Five miles later, we were back in the car and ready to start the week. Here's to doing this more often!

Maybe. Because I do enjoy sleep.

Happy Monday, friends!

Wednesday, August 28, 2013

One Month & A Brownie Mug


Folks, we have one month.


I have no idea what to say!

At the risk of sounding ridiculously typical -- It feels very...surreal.

Wanna know how I celebrated at midnight?

Two words: Mug brownie.

Oh yes.

This is a terrible {but delicious} photo {it was midnight, after all}:


A sweet little innocent brownie to fix my need for chocolate and celebration in the wee hours of this A.M.

i.e., I couldn't sit still or sleep and therefore felt a strong need to do something productive that involved chocolate.

Plus, my mind is zooming in sixteen and a half different directions at most moments of everyday of every week, thus making cooking real food a little difficult as of lately. So I stick to what's easy: crock pots and microwaves.

I'll be honest, usually the mug brownies I make are larger than this. In fact, this particular one from last night/this morning is actually half the size of the normal one I always sometimes make -- but I was desperate for chocolate and STRONGLY unwilling to feel guilty about it.

So viola! Here you have it -- the full recipe for a one-minute mug brownie. If you want just a small taste to get your dessert fix, cut it in half and consider it healthy!

But that's just my unqualified but totally rational two cents ;)


One Minute Mug Brownie
Serves 1-2


What you'll need:
4 tbsp self-rising flour
4 tbsp sugar
2 tbsp cocoa powder
1 tbsp veggie oil
Splash of water
Splash of vanilla
Sprinkles
Your favorite mug :)

What you'll do:
Mix dry ingredients in mug until completely and evenly combined. Add wet ingredients and mix until throughly combined and the texture is like that of cake batter. Add a little more water if it's too dry, but the mixture should NOT be soupy. Mix until creamy.

Pop in the microwave for 1 minute, then add sprinkles while warm. Top with cool whip if you have it on hand.

For a smaller brownie, cut the ingredients in half (except for vanilla, obvi. Because vanilla is AWESOME), then pat yourself on the back for making an excellent choice.

Friday, August 16, 2013

The Only Banana Pudding Recipe You'll EVER Need


Last night I did something scandalous.

Something so deliciously scandalous.

I may not be proud, but I'm definitely not sorry!

Feast your eyes on this amazing-ness.


As previously stated, this is the only recipe for Banana Pudding that you'll ever need. EVER. Courtesy of my mom =) (love!)


Ohhhhh how I LOVED those days when I would wake up in the morning and see a giant bunch of perfectly yellow bananas sitting in the kitchen -- right next to a bag of Nilla Wafers. Oh, I knew what was coming. Deliciousness, that's what.

I'm not sure if there's a dessert I like more, although cake and apple pie come dangerously close.

I made this yesterday after we were invited to have dinner with a family from our church - there was basically nothing left.

Let me tell you, if you are ever in a bind and need to bring a "quick" dessert -- this is it.

This is sooooo it. It pretty much takes about 20 minutes, tops. If you're slow.

Once you whip up the pudding mixture, it's all layering from there. You don't even have to let it chill if you don't have time, because the pudding thickens as you go. I enjoy a cold banana pudding though, so I like to let mine sit for a few hours, even overnight, if I have the time.

It comes together, quickly, easily, and deliciously. Although it does require some sampling as you go.

Not that there's anything wrong with that.


Just be careful not to eat that tiny bit of sweetened condensed milk that somehow doesn't make it out of the can....


I'll admit it. I didn't even try.

I'm not proud, but I'm not sorry :p

I LOVE IT, I tell ya! LOVE. IT.


If you've ever made banana pudding, you know that it's a layered dessert. The trick is to evenly arrange the toppings so that you get incredible amounts of them in every heavenly bite.


Arrange it like this....


Then this....


Until all of your ingredients are gone with enough left for you to sample. I'm crazy in love with this dessert. Is that weird?

You're going to make someone very happy with this dish. Even if it's yourself. Because it's just that good.


P.S. Happy Friday :)


BANANA PUDDING FOR EVERYONE!!!


The Only Banana Pudding Recipe You'll Ever Need
Serves 8-10

4 very yellow bananas
2 cups of milk
1 package of vanilla instant pudding mix - MUST be vanilla
4 oz cool whip (half of a package)
1 can sweetened condensed milk (fat free will work!)
1 package of Nilla Wafers

Slice bananas thinly, then set aside. Combine milk, pudding mix, cool whip, and condensed milk in a large bowl and blend until even using an electric mixer. Once it's nice and combined, layer everything in another bowl in this order:

Pudding mixture
Banana slices
Nilla Wafers

Repeat until all ingredients are gone, then chill until ready to eat. Tastes great if chilled for at least 1-2 hours, even overnight.

Thursday, June 13, 2013

Monkeyin' Around

I am stoked.

I am so totally STOKED.

I am so totally STOKED and now I will show you THIS RECIPE  ----------->-------------->------------->

--------->---------------->------------------>


!!!!!!!!!!!!!!!!!!


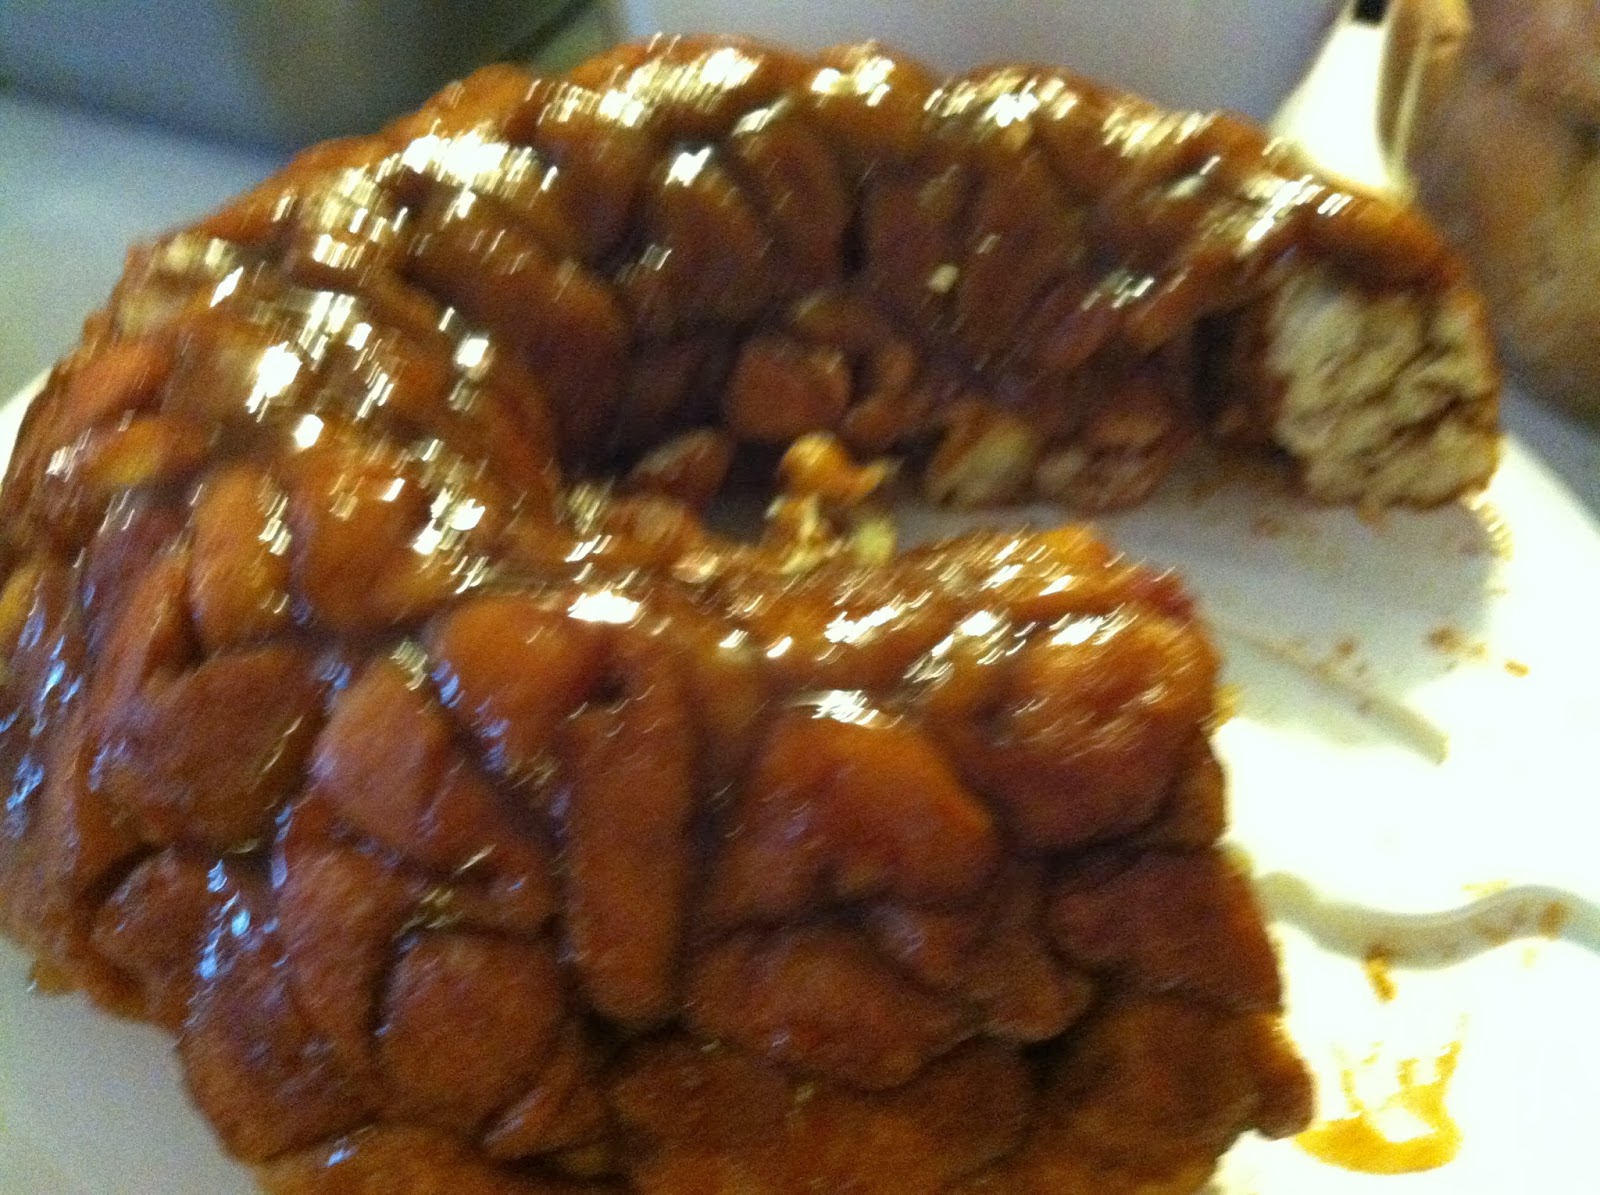
Yes! Yes! YES! All of my Monkey Bread dreams have finally come true! As I mentioned a few posts back, I have been drooling over the mere THOUGHT of making The Monkey Bread since Christmas time. Well, last Friday night The Fiance' and I decided that we'd waited long enough and dug in, got our hands dirty, and baked the deliciousness that IS The Monkey Bread.

My oh my, was it ever worth the wait. And an apt start to a fabulous weekend, I do believe!

While this is a relatively quick recipe, it did take us a little longer than expected to make it, mainly because I'm obsessed and I wanted to make sure that we had wonderful, delicious brown sugar and cinnamon in every. single. bite. I may or may not have triple double dipped each piece into layers upon layers of cinnamon and brown sugar. Oh my yum.

#WorthIt.

This is a great Saturday morning breakfast with coffee. It's also a great late-night snack. Or after-work-waiting-on-the-chicken-to-bake appetizer. Whatever floats :)

NOTE: This is NOT a healthy recipe. There is a whole stick of butter/margarine in this bad boy. I almost could not take it! But alas, all in the name of The Monkey Bread. Please use small portions :) It will last longer that way :D Or share with friends! They will love you that much more.


Nom.


Nom Nom.


Nom Nom Nom!


THE Monkey Bread

3 cans of biscuits
1 cup of sugar
2 tbsp of cinnamon
2 tbsp brown sugar
1 tsp honey or Karo syrup
chopped pecans or walnuts (I used about 1/4 cup, but add more if that's your thing!)
1 stick of margarine (THIS part. Yikes. Please use caution ;) )

Note: If using a dish that is NOT already non-stick, please-oh-PLEASE remember to grease the pan with either cooking spray or a thin layer of butter.

In a medium bowl, mix sugar, cinnamon, and brown sugar (YUM).Cut biscuits into quarters. To ensure that every bite gets flavor, flatten the biscuit pieces, dip in the sugar mixture, the roll the biscuit piece into a ball before placing it into a baking pan. Stack the biscuit balls on top of one another, making a nice cake shape.

Melt the margarine and stir into the sugar mixture, then add the honey/Karo syrup. Stir in half of the pecans, then pour over biscuits. Top with remaining pecans and bake for 20 minutes at 350 degrees.

Turn out of pan immediately. Pairs wonderfully with a hot cup of coffee and friends.

Saturday, June 1, 2013

Quick Monkey Muffins

Happy Saturday!

This morning's breakfast was purely an experiment - and a delicious one at that. After a few crazy weeks at work and a few more busy out-of-town weekends in between, it was high time for a laid-back Saturday morning spent drinking coffee and watching cooking shows. Love :)

FYI - Today the Pioneer Woman reminded me I needed to bake this amazing chocolate cake and Trisha Yearwood now has me craving pimento and cheese sandwiches. Be still my heart.

FYI 2.0 - I despised pimento and cheese sandwiches until about two years ago. Nothing happened, I literally woke up one day and immediately, waved my fist and declared, "I MUST HAVE PIMENTO AND CHEESE!" (dramatic interpretation, obvi.) I couldn't stop thinking about how delicious it suddenly seemed and eventually made my way to the store to purchase said product. I haven't turned back since.

But I digress.

Last night while heading home from the grocery store I heard a sudden "POP!" from the floor of the car. A can of biscuits I'd grabbed in the store (for a future experiment!!!!) had burst open and into the grocery bag.

It only made sense to use them to make these little beauties this morning. Couldn't let the biscuits go bad, now could we? ;)


I've been dreaming about making monkey bread since this post at Christmas time. Then I joined the crazy boot camp and went on a crazy "healthy food only" kick for about four months. While I still aim to eat healthy, I've slowly allowed myself to indulge in something sweet every now and then. So this morning, I decided it was high time to cash in on my monkey bread dreams.

Since I am a household of one, a full monkey bread cake is probably not a good idea. So hence these baby monkey muffins - just enough for a taste of monkey bread for one :)


I scaled down a Bell's Best recipe to use with only two canned biscuits, then added a few of my own ideas. My suggestion: before baking, poke a few holes in top of the biscuits, then add the glaze. This way the inside of the biscuit has a nice flavor as well.

These also taste great when they're dunked in a cup of coffee. Enjoy!


Mini Breakfast Monkey Muffins for One

Adapted from Bell's Best cookbook
Canned Biscuits (I used two)
2 tbsp cinnamon
2 tbsp sugar
3 tbsp butter or margarine, melted
1 tbsp Karo syrup
pinch of brown sugar
cream cheese
Mix cinnamon and sugar in a small bowl. Brush 1 tbsp of melted butter on biscuits dip in the cinnamon mixture. Place in a baking pan. Combine remaining butter and Karo syrup, then add to remaining cinnamon mixture. Poke holes in the tops of biscuits, then drizzle the glaze over the top, making sure it seems into the holes. Top them off with a pinch of brown sugar and touch of cream cheese - adds just a little extra sweetness! Bake for 10-15 minutes or until biscuits are cooked thoroughly. Serve warm and enjoy!

Tuesday, December 18, 2012

Lovely Weekend Adventures

Happy Tuesday folks!

Although last night consisted of yet another midnight baking adventure, it's thankfully been a pretty grand day thus far! :) Bosslady's birthday is today and our department wanted to bring a little sweetness into the office. Brownie points? Quite literally :)


Happy Birthday Bosslady!

I LOVE birthdays and birthday surprises...and I love how sprinkles make most any dessert just look "happier." These brownies were not the prettiest in the world, but they are pretty tasty...Good enough for me! :)

What a weekend right? To call it bittersweet is a huge understatement. My heart is still in pieces for what happened on Friday. This world is crazy and I struggle to find the right words to pray for those families. Thankfully, we serve an Awesome God who hears our heart rather than our words, and who I feel cries with us through pain and trials. This world needs some major prayer, people.

On a lighter note, the weekend kicked off with our office Christmas party on Friday night. After a fast-paced day at work, I was one tired chick once I returned home. I pretty much fell into my bed and didn't move until I woke up the next morning, determined to sleep as late as possible.

I don't know about y'all, but around here it's been a little difficult getting in the "Christmas spirit." October through December is without a doubt my favorite time of year -- the changing colors, the cooler weather (NOTE: cool - not cold! :) ), the decorations, the MUSIC...I love it all. But in a workplace where everything has to be very PC, and in a city that's so cramped that it takes an hour to drive 2 miles (no joke), everything seems a little less "spirited."

Because of this, we decided that SATURDAY would be deemed "All Things Christmas" day. Shopping, music, food, etc. And was it ever. I highly recommending doing this at some point before next week!

Saturday started off with a surprise breakfast from a local donut shop I'd never visited. Apple fritters, butter rolls, cinnamon rolls, piggies in blankets, and coffee...pretty much the works. I must say, it was all pretty impressive -- so impressive that you kind of have to ignore the amount of calories you're going to consume just looking at it ...but totally worth it in the end. We stuffed our faces and decided it was best to go for a long run afterward :) Hey, it's all about balance, right? ;)


Part of "the feast"!!!
Later that afternoon, the Christmas shopping ensued. This was the first time I've really seen our area decked out for Christmas, since I rarely make it to that side of town due to traffic and time. Music was playing, stores and windows were decorated -- it really felt like a Christmas village :) There was even a trolley running that night so we could visit all of the stores without losing our parking spot! LOVED IT!

Christmas spirit has officially been FOUND :) Gifts are wrapped, my office and apartment are finally decorated, and I'm blasting Christmas music every chance I get. Sometimes you just need a true day OFF to really enjoy things.

Speaking of enjoying things...I feel like this Blackberry Crisp dessert is something truly worth enjoying. I mentioned it last week when my friend Lauren visited. Although it's a very light dessert, it's sweet enough to feel as though you've had something substantial. It's got oatmeal AND fruit in it, so you can totally eat this for breakfast too if you so desire...this I know from experience ;)

I had all of the ingredients on hand already, hopefully you will too. If not, no worries -- it uses very practical ingredients that you'll likely use again. I even had blackberries in my freezer (rare occasion) leftover from a previous recipe.

Hope you enjoy this - it's great for a cold night, but I've eaten it in the summertime too with other fruits mixed in (See Skinnytaste for the summer recipe!). Hopefully your crisp will be a little thicker...I used half a bag a blackberries because that's what was left in my freezer, but use as many as you want -- 2 bags will give you a SUPER juicy crisp...I encourage it :)


Apologies for the bad lighting...regardless of pictured, it's very, very good!
Check out Gina's site...she has MUCH better pictures! :)


Warm Blackberry Crisp
Inspired by Gina of Skinnytaste 


1 bag of frozen blackberries (or more, if you wish!)
~ 1 teaspoon of lemon juice
~ 1 teaspoon of cornstarch, more if you use more berries
1/4 cup of sugar

1 cup of dry oatmeal
1/2 cup of whole wheat flour (I do not recommend white flour here at all)
3/4 cup brown sugar (if you're a fan like me. If not just use 1/2 cup)
1 teaspoon of cinnamon (more if you're a fan, like me ;) )
a little less than half a stick of butter

Directions:
In a mixing bowl, toss your fruit with the lemon juice, sugar, and cornstarch, in that order. Pour into a pie dish (I rubbed a light layer of butter on this, just in case).

In a separate bowl, mix the rest of the ingredients and pour on top of the fruit layer in the pie dish. Bake at 375 until the crust is a nice golden brown color. Serve warm and top with whipped cream or ice cream and a dash of cinnamon :)

Friday, December 7, 2012

Helloooooo there!

I have cookies coming out of my ears.

Not literally. But cookies are overflowing into three tupperware containers in my fridge.

For now ;)


BUT FIRST!

HELLOOO and welcome to Grits & Griddles - a happy little corner of the world where you'll find recipes, laughter, stories and many other magical things that I hope will enchant you! I'm a Southern girl in Mississippi, working as a communications superhero by day and a runner/chef/writer/five hundred other things by night. Coffee, traveling, writing, and cooking give me great joy :)

In this blog I hope to post things that will bring a little sunshine to your day -- whether it's a story of a spontaneous road trip (not unlikely) or photos of wonderful, delicious Southern comfort food. Let's be friends, okay? :)

But more importantly...

BACK TO THE COOKIES!

This weekend I'm visiting Natalie and we're going to a cookie swap at her church - fun fun fun! I remembered last night around...11-ish that cookies needed to be made! I was excited (doesn't take much) -- baking meant I could put my new mixer to use...YES!

For this lovely occasion, I decide on Chocolate Chip Butterfinger Cookies - straight from the Tasty Kitchen. Usually I research then put my own spin on a recipe, but last night I followed the recipe exactly to ensure Butterfinger-y goodness. I'm glad I did -- they're delicious, and if I drank milk I would for sure dunk these babies in a nice big glass of it!

Like I said, it was around 11-ish by the time I remembered started baking. I thought, "A small batch of cookies? Easy. I'll be done by midnight, tops."

Nope.

Turns out, the recipe makes between 20-30 cookies, depending on how large you want them...which is about TRIPLE the amount I intended! Silly me...I didn't cut the recipe into thirds. But who needs math, right? I think I finished everything around 1:30 a.m.

Hi, my name is Lisa, and I like to bake at midnight.

If you're interested, here's the play-by-play with some pretty okay maybe not pictures. No fancy camera here; just ye olde iPhone :) Enjoy friends! And have a happy day!

***

Chocolate Chip Butterfinger Cookies
{from the Tasty Kitchen blog and Tanya from Lemons for Lulu}


The Leading Ladies:


Brown sugar, flour, quick-cooking oats, sugar, butter, 2 eggs, chocolate chips,
and Butterfingers (unpictured - I used candy bars but you can use chips if you like).
Yes, that's a hammer. You'll see why in a bit :D

In a LARGE mixing bowl, soften your butter, then mix with
the sugars into a creamy buttery-ness:


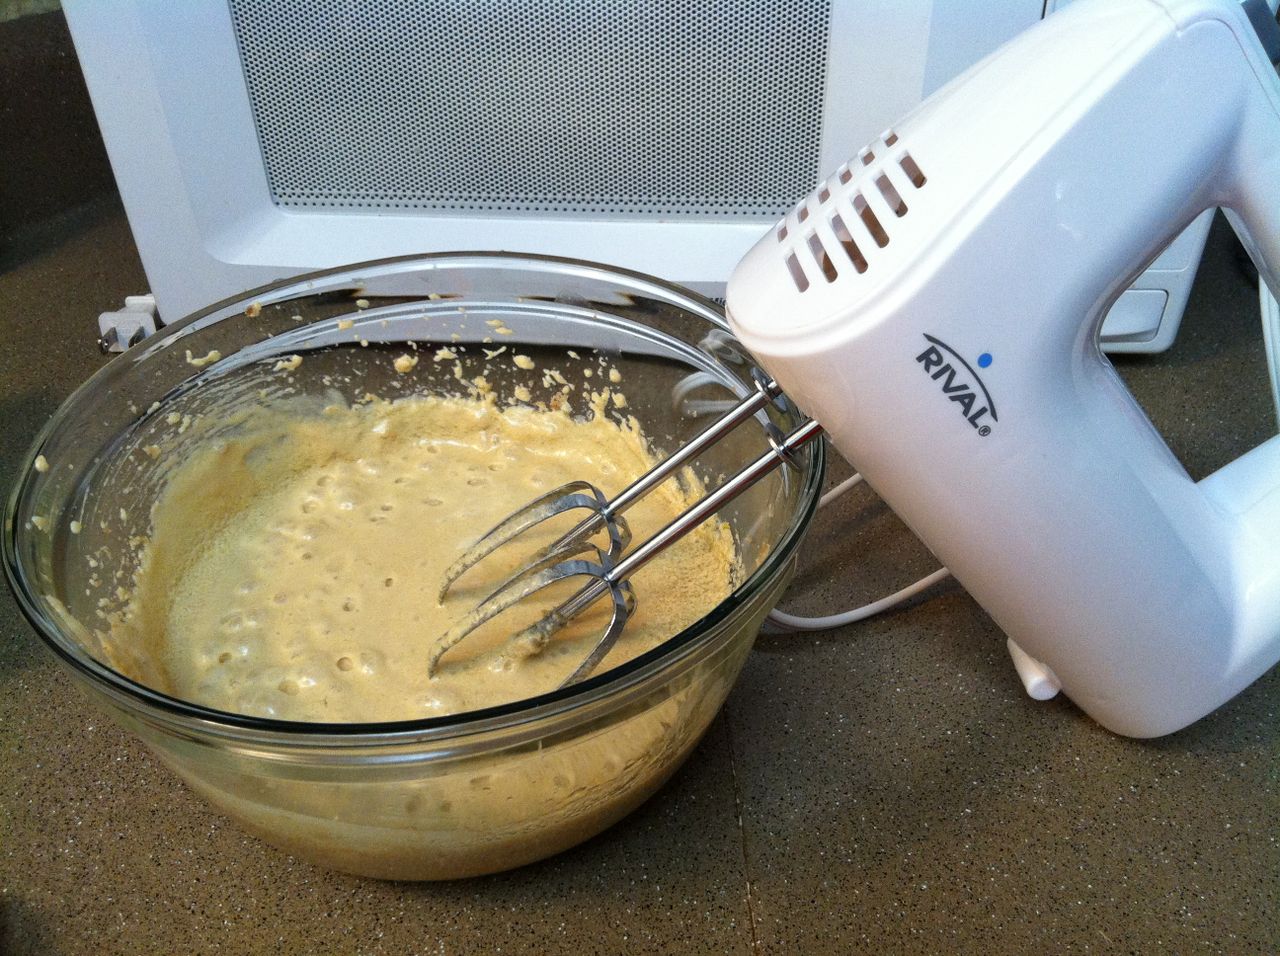
Let's take a moment and admire the new mixer. Aaaahh the little things :)

Add your flour and your oats {ACTION SHOT YES!}


Mix it up, then add your chocolate chips:


Now the fun part...if you're using candy bars, take out all of the stress of your work day and BEAT THEM with the hammer! (Feel free to use any other heavy-ish object here, just don't hurt yourself or your countertop!) Crumble them up into tiny crumbs to mix into the cookie dough.


Mer her her herrrr.....

Hey look a promo code! I WON I WON! 
Just kidding. I didn't win....yet.


After a nice arm workout from hammering and stirring (at this point I put down the mixer and opted for a spoon since the batter was thick and my bowl was small!), drop the dough
by tablespoonfuls onto a nice baking sheet. Let them bake for about ten minutes.


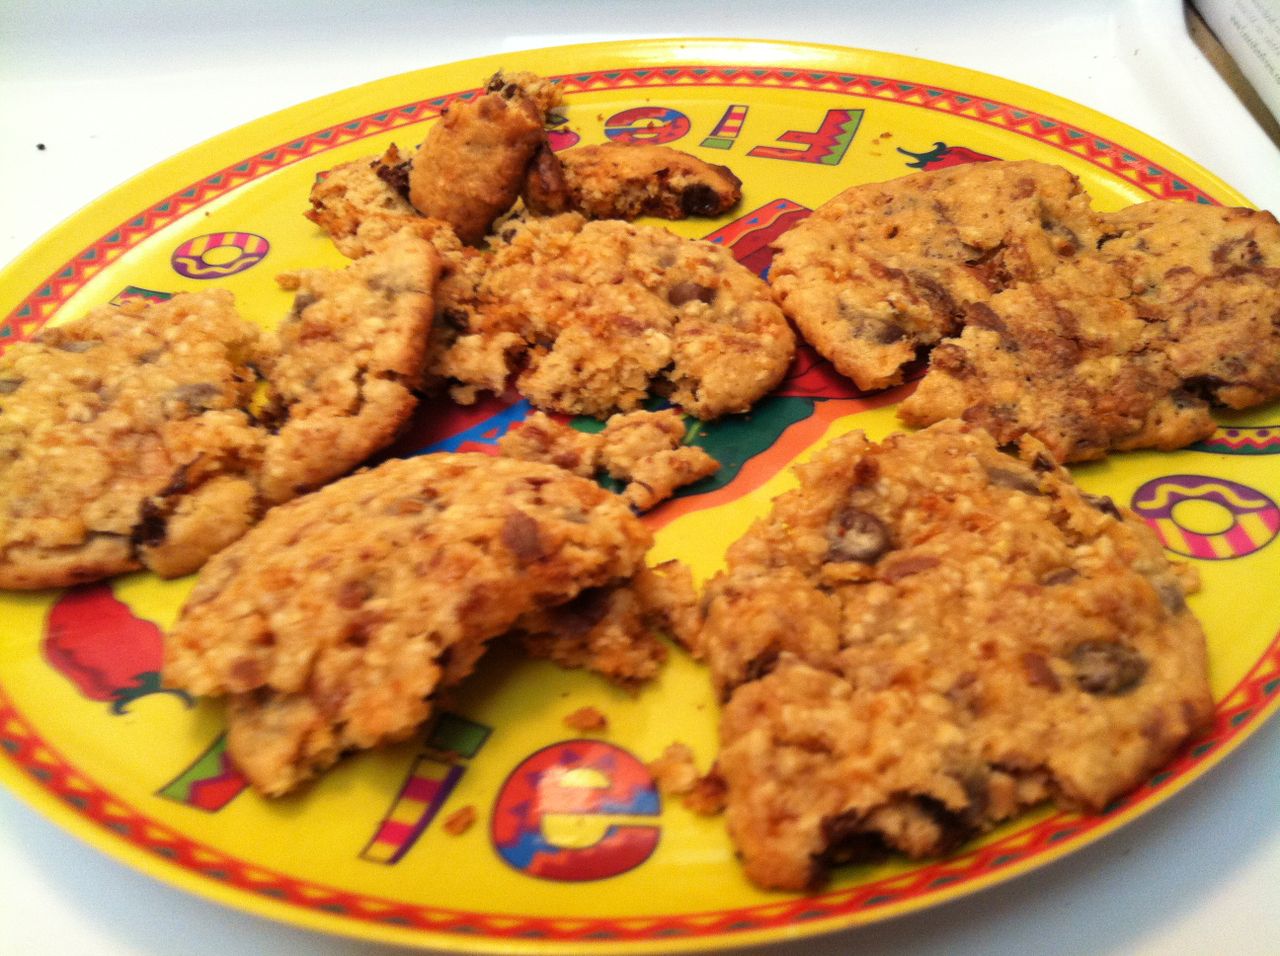
IT'S ALIVE!!!!! (This was about five minutes in - they grow FAST)

Let the cookies cool for a few minutes before trying to remove them. Unless you're like me
and you're impatient ready for cookies. In that case you'll get THESE results...


...which are equally as delicious but definitely not as pretty! However, they are perfect for
munching co-workers or friends looking for a snack :)

***


"I figured if I was going to save the world, I might as well do it with cookies."
- Ana Pascal (Maggie Gyllenhaal), "Stranger than Fiction" (2006)